Loading Images
This page provides a summary of how to display images on your essay pages. The gray boxes should show you exactly what code you need to use; copy and paste it into your own site pages and adjust the attributes as you need to.
• In all of the below examples, make sure you take extreme care with your quotation marks and other coding symbols!
• DO NOT use double quotation marks " in your titles or captions. Single quotation marks ' are fine.
• You CANNOT see image previews with Dillinger.io.
There is one basic way we will embed images in our essay files. Note that it is totally different how you would it with pure Markdown. This is because if we want to maintain consistency between images, like how the captions appear, we have to make sure we display all images exactly the same way. Using the small code blocks make this as easy as it can be.
Image Preparation
Find Images
Because our work is not merely a class project but a publication (yay internet!), we need to make sure we have sufficient permissions to use the images that we do and provide a link back to the original. As a non-commercial education resource, the doctrine of fair use gives us a wide latitude for using images. But it’s always best to use images for which the copyright and licensing permissions are very clear.
Wikimedia Commons is a great place to start.
You will need to copy the URL of where you got the image so that you paste in into your source-url parameter, so keep your browser tabs open throughout the process.
Download and Rename Images
When you find an image you like, download it to your computer. Frequently, images you download will have long and weird filenames that make it difficult to use, even within our repository. You should rename the image so it has a more human readable name that will make it easier to find later. Use only lowercase and hyphens (not underscores or spaces) in your filename.
Put Images into our Repository
Bring up a browser window of our website repository. Click on the sites folder, then the images folder. Drag and drop the file(s) you downloaded and renamed in the previous step.
It is much faster to drag and drop multiple files at once, since after you commit a new image, you end up at the repository home page (not the images folder).
Remember to click the green “Commit Changes” button to upload your image (just dragging and dropping does not commit the file).
Image Code
As mentioned, we use a small block of code to help us keep the display of images and captions consistent and flexible.
Again, all you need to do to get images on your essay page is to copy and paste the code from the gray box onto your page wherever you want the image to appear, and adjust the parameters.
Edit parameters
The parameters (class, width, caption) are self explanatory, but note that:
image-urlis the ONLY the filename of the image, with appropriate extension (.jpg,.png,.jpeg, etc).- Your filename MUST NOT start with
images/as we saw originally.
- Your filename MUST NOT start with
source-urlis the URL of wherever you got the image.
Make sure what’s in the code and your file name as it appears in the repository MATCH EXACTLY.
Double check and commit your changes
Double check that you have:
- the
\{\%and\%\}at the beginning and end of your code block - matching double quotation marks for all your parameters
- a PERFECT EXACT match between your image filename and what’s in the
image-urlfield. - Use the green button to commit your changes as always.
Check your work
Wait a few minutes, then reload/refresh your essay’s webpage. Your images should appear. If they do not, either you need to wait a little longer or you made a mistake with the code. Better to wait a little more before experimenting with code changes, which might not be necessary.
Troubleshooting
If you’ve waited more than 5 minutes and your image is still not appearing, you probably made a silly typo somewhere and you have to find it.
- Most common problem is a mismatch between image filename and what you put in the
image-urlfield. - Relatedly, double check you filename extension—it might be
jpg,JPG,jpeg, orpng—or some other variant. Make sure your code and the filename match EXACTLY. - Double check your code against the model for a missing quote or bracket.
- Make sure you do not have double quotes anywhere in your caption.
- Make sure your files are in the
/essays/imagesfolder in our repository.
Standard Usage

Fusce vulputate eleifend sapien. Vestibulum purus quam, scelerisque ut, mollis sed, nonummy id, metus. Nullam accumsan lorem in dui. Cras ultricies mi eu turpis hendrerit fringilla. Vestibulum ante ipsum primis in faucibus orci luctus et ultrices posuere cubilia Curae; In ac dui quis mi consectetuer lacinia. Nam pretium turpis et arcu. Duis arcu tortor, suscipit eget, imperdiet nec, imperdiet iaculis, ipsum.
To embed the image above, we use:
{% include figure.html
  class="img-right"
  width="33%"
  caption="Mesa Vista Hall"
  image-url="default.jpg"
  source-url="https://nmdigital.unm.edu/digital/collection/ULPhotoImag/id/3516/"
%}
Use whatever width you want
You can alter the width of the image as a percentage of our standard page width. You can have them appear on the left, right, or center of the page.
Half-width

Vestibulum ante ipsum primis in faucibus orci luctus et ultrices posuere cubilia Curae; In ac dui quis mi consectetuer lacinia. Nam pretium turpis et arcu. Duis arcu tortor, suscipit eget, imperdiet nec, imperdiet iaculis, ipsum.
To achieve the above half-width image, use:
{% include figure.html
class="img-left"
width="50%"
caption="Obviously we need a 50% image somewhere."
image-url="Augustine_Lateran.jpg"
source-url="https://en.wikipedia.org/wiki/Augustine_of_Hippo#/media/File:Augustine_Lateran.jpg"
%}
Side by side
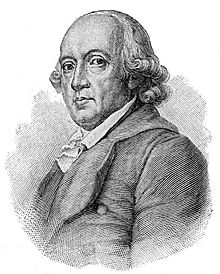

To achieve two images side by side use (note the 49% width for each):
{% include figure.html
class="img-left"
width="49%"
caption="Here's an image on the left."
image-url="Herder.jpg"
source-url=""
%}

{% include figure.html
class="img-left"
width="49%"
caption="Here's an image on the right."
image-url="Johann.jpg"
source-url=""
%}
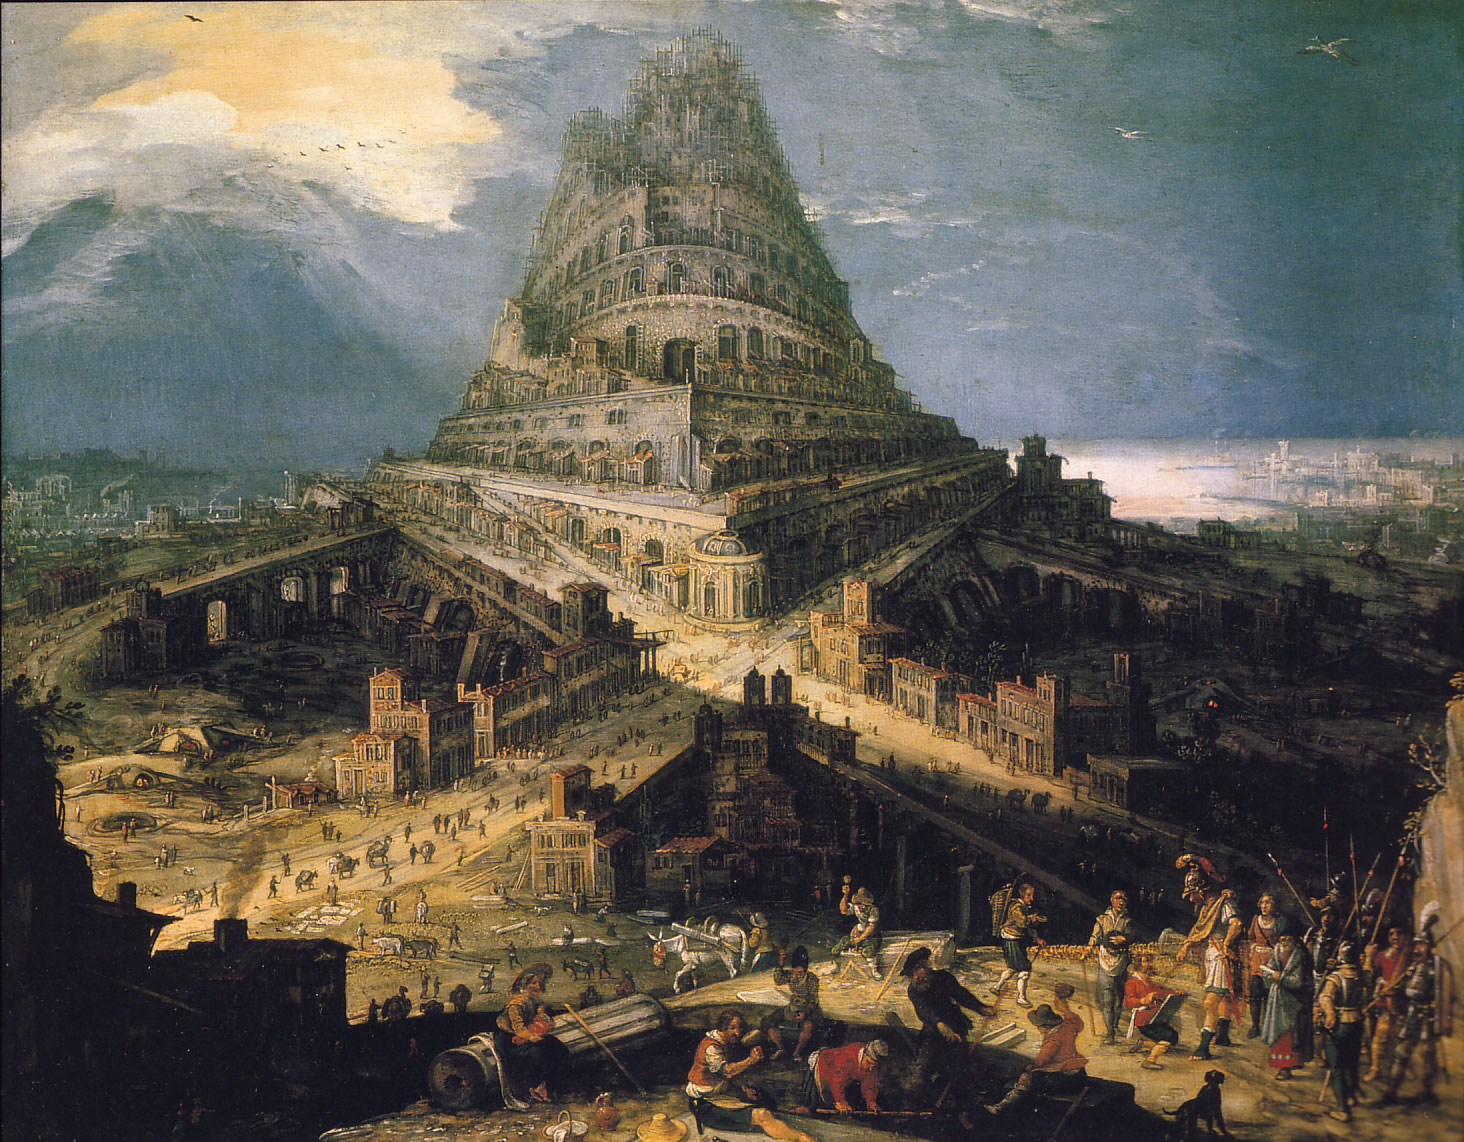
Full-width
To achieve the above full-width image, use:
{% include figure.html
  class="img-center"
  width="100%"
  caption="Make sure your image is large enough to be 100% width or it will look grainy."
  image-url="Cleve-van_construction-tower-babel.jpg"
  source-url="https://commons.wikimedia.org/wiki/File:Cleve-van_construction-tower-babel.jpg"
  %}